Disclaimer: I originally submitted this article to DataCamp on "Jan 27, 2018". Since they didn't publish it on the platform, I have decided to do it here so that someone out there will find it useful.
Download the original files in HTML and Jupyter Notebook formats
DataCamp Tutorial - Geocoding and Reverse Geocoding with Python
The increasing use of location-aware data and technologies that are able to give directions relative to location and access geographically aware data has given rise to category of data scientists with strong knowledge of geospatial data - Geo-data Scientists.
In this tutorial, you will discover how to use PYTHON to carry out geocoding task. Specifically, you will learn to use GeoPy, Pandas and Folium PYTHON libraries to complete geocoding tasks. Because this is a geocoding tutorial, the article will cover more of GeoPy than Pandas. If you are not familiar with Pandas, you should definitely consider studying the Pandas Tutorial by Karlijn Willems so also this Pandas cheat sheet will be handy to your learning.
Tutorial Overview
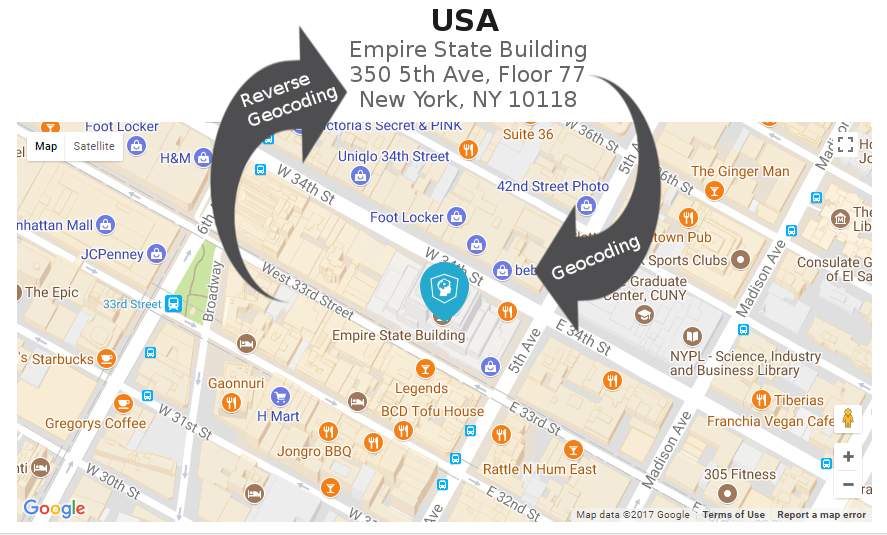
- What is Geocoding?
- Geocoding with Python
- Putting it all together – Bulk Geocoding
- Accuracy of the Result
- Mapping Geocoding Result
- Conclusion